Fixing Fraying and Edge Failure in Woven Fabric Batches
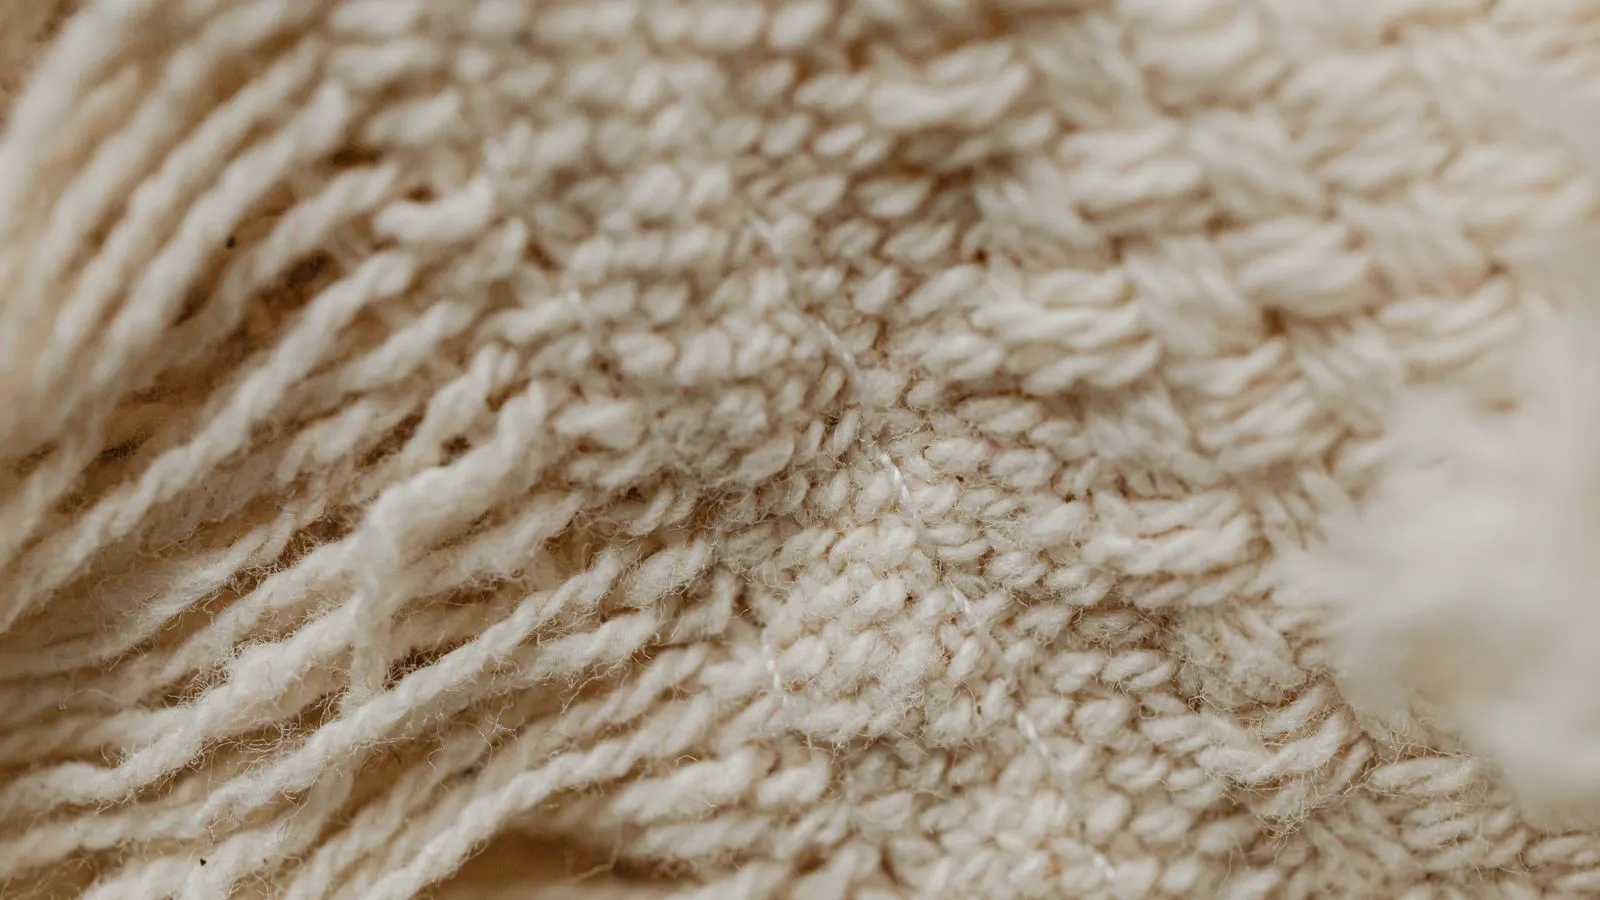
Woven fabric fraying happens when warp and weft threads loosen or break at the fabric edge. This guide lists common symptoms, likely causes, and practical fixes. It also covers quality control methods to prevent edge failure before it reaches the cutting floor.
- Loose threads at the edge often indicate weak selvedge or mechanical damage during rolling.
- Cutting too close to the selvedge removes the strongest part of the fabric edge.
- Regular inspection of loom selvedges and finishing lines reduces batch rejection rates.
- Starch, sizing, and proper tension control help keep weft threads from escaping the fabric structure.
- Documenting defect patterns helps trace edge failure back to the exact machine or shift.
What Causes Woven Fabric Fraying in Production
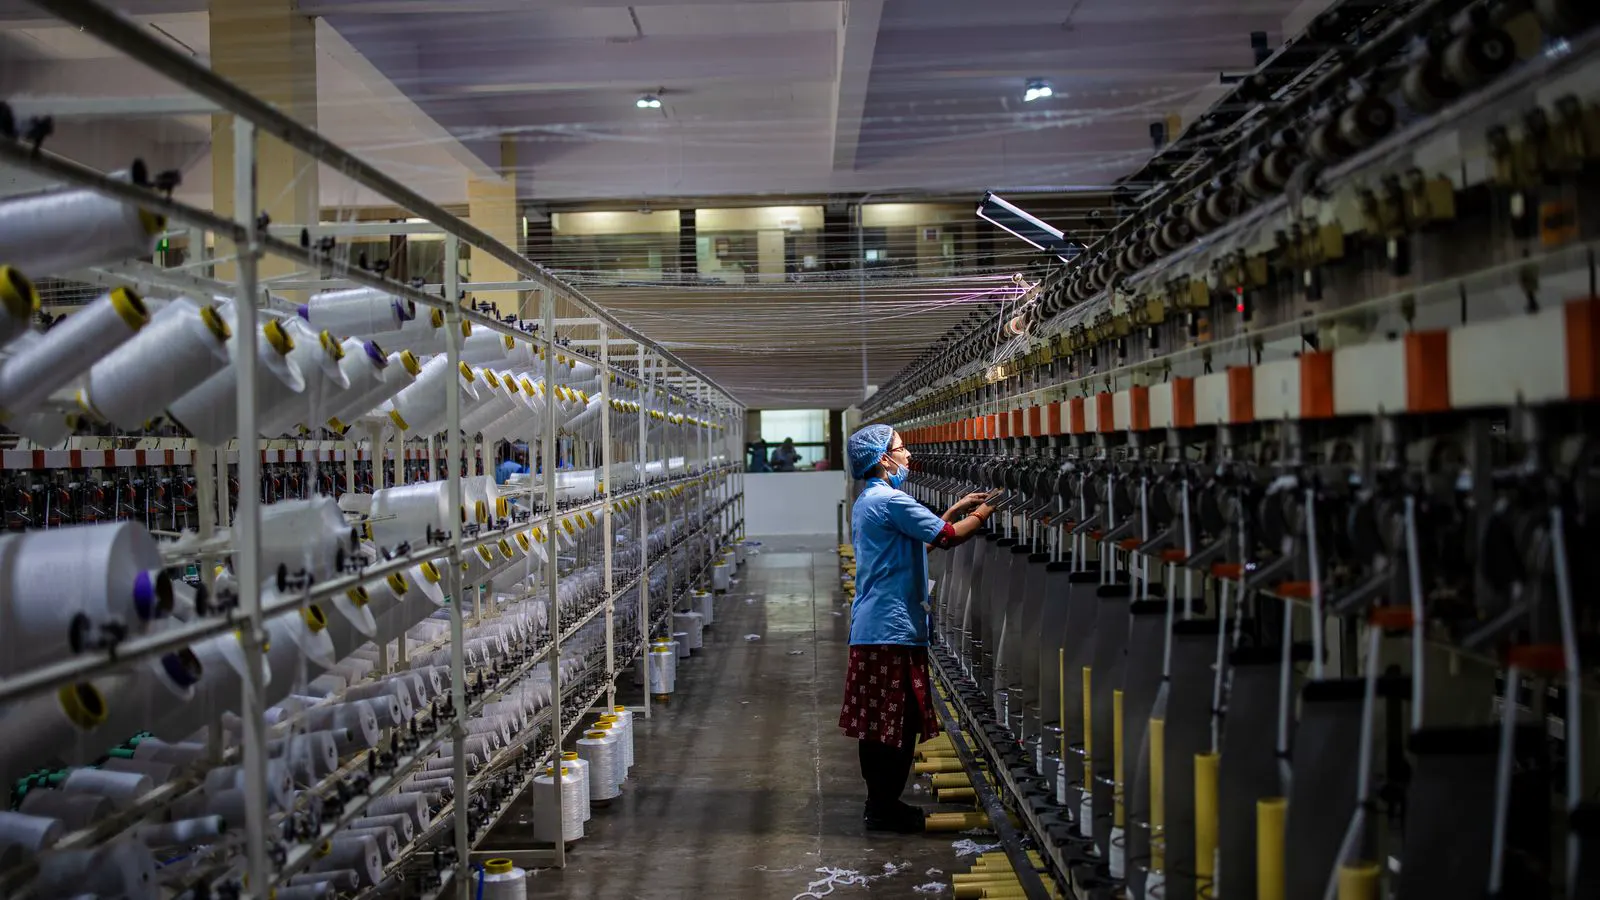
Woven fabric fraying starts when the structural integrity of the edge weakens. The selvedge is the finished border created by the loom. It holds the weft threads in place and prevents them from escaping the body of the cloth. When that border fails, the weave unravels. The result looks like a line of loose threads running along the cut edge or a section of the fabric that collapses under tension.
The most common trigger is a break in the selvedge thread. If the edge thread snaps, the adjacent weft threads lose their anchor. They slide outward and begin to pull the warp threads with them. This failure can happen slowly over a long run or suddenly after a single mechanical shock. In either case, the fabric may look acceptable at the loom but fail during cutting, sewing, or final inspection.
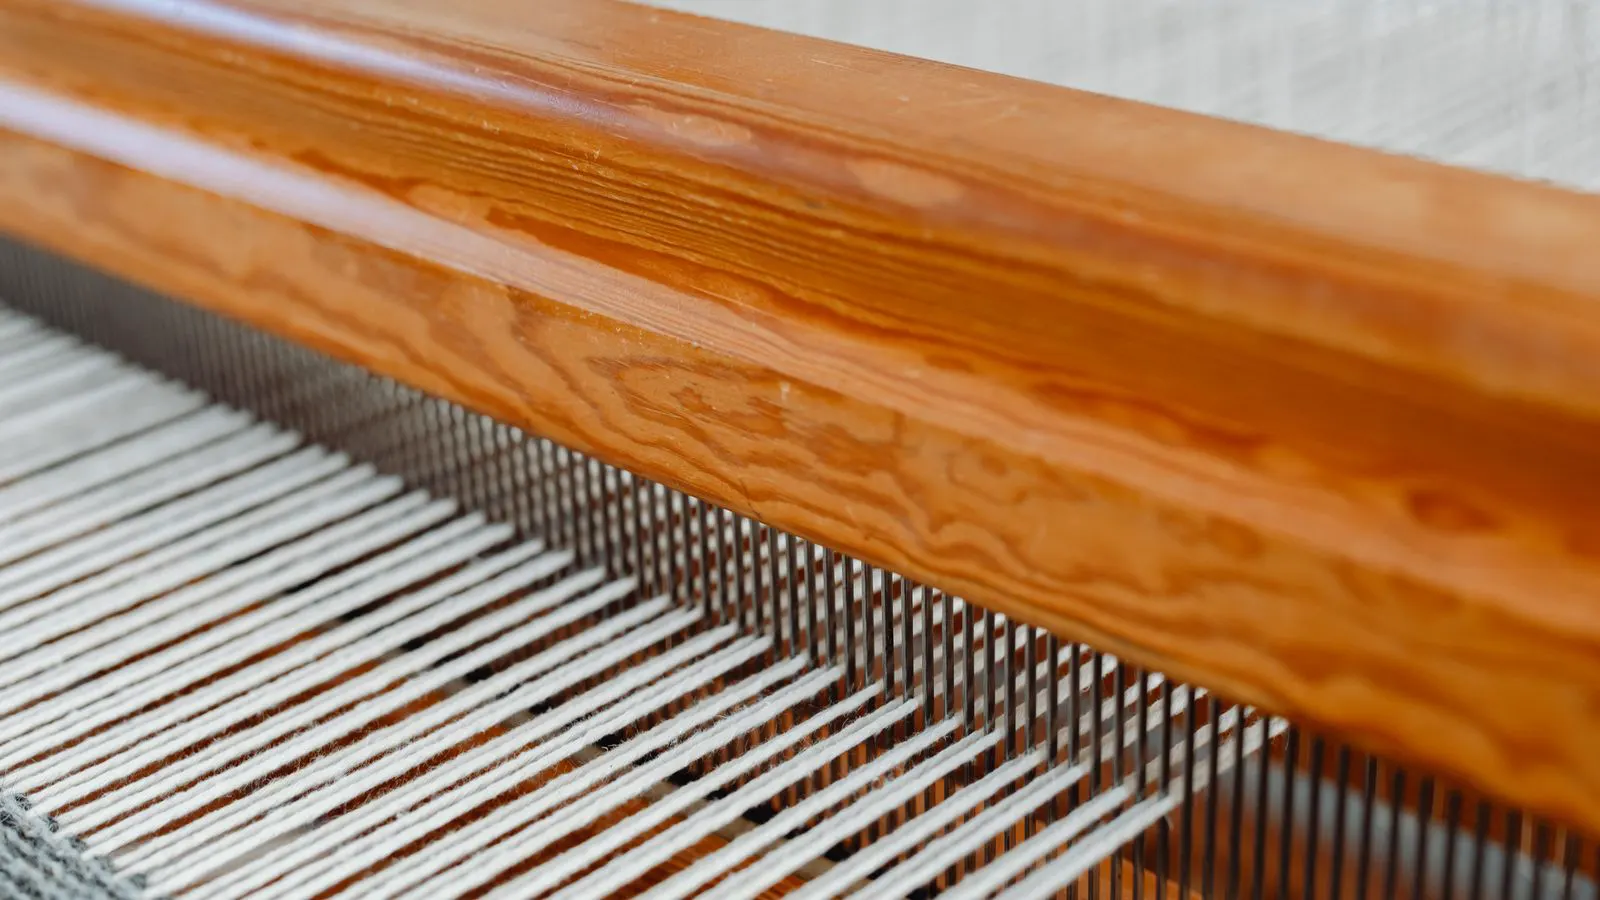
Another frequent cause is poor tension during weaving. If the weft tension is too low, the threads do not pack tightly against the selvedge. If the warp tension is uneven, the edge warps may pull away from the fabric body. Both conditions create gaps where the weave structure is loose. Those gaps expand as soon as the fabric is handled or cut.
Moisture and chemical exposure also play a role. Sizing agents are applied to warp threads to improve strength and reduce friction. When sizing is too heavy or the fabric dries unevenly, the edge can become brittle or stiff. In high humidity, the reverse can occur. The fabric swells slightly, and the tight selvedge may crack as the threads move against each other.
Finally, mechanical damage during handling often goes unnoticed until the fabric reaches the cutting room. A sharp corner on a roller can nick the selvedge. A misaligned guide in the finishing line can drag the edge across a rough surface. A poor roll pack can compress one side of the fabric and stress the outermost threads. These issues do not always show as visible damage. They leave micro-tears that grow into full fraying over time.
Symptom, Cause, and Fix Table
The table below maps the most common symptoms of woven fabric fraying to their likely roots and practical corrective actions. Use it as a quick reference during batch inspection.
| Symptom | Likely cause | What to do |
|---|---|---|
| Loose weft threads escaping from the cut edge | Weak or broken selvedge thread; low weft tension | Inspect the selvedge at the loom. Re-thread broken edge threads. Increase weft tension slightly. Apply edge reinforcement during cutting. |
| Fraying only on one side of the fabric | Uneven warp tension; loom misalignment; roller damage | Check warp tension across the full width. Align the reed and harness. Inspect rollers and guides for burrs. Replace damaged rollers. |
| Edges unravel after washing or chemical treatment | Poor sizing adhesion; over-starching; aggressive wash cycle | Review the sizing recipe. Adjust starch concentration. Test a sample wash. Use a gentler mechanical action for delicate weaves. |
| Fraying appears after cutting, not on the bolt | Cutting too close to the selvedge; poor cutter blade; lack of finishing | Keep a safe distance from the selvedge. Replace dull blades. Apply heat sealing, overlocking, or edge tape before cutting. |
| Fraying in patches, not continuous | Localized thread breaks; lint or debris in the loom; partial selvedge damage | Inspect the affected section. Clean the loom and guide rails. Re-weave or splice damaged sections. Log the defect pattern for traceability. |
| Fraying worsens during storage | Poor roll packing; humidity swings; mechanical stress from stacking | Adjust roll diameter. Store in a climate-controlled environment. Avoid stacking heavy loads on the edge. |
This table is most useful when the defect is isolated to a specific lot. If the same pattern repeats across different lots, the problem is likely systemic. That points to loom settings, finishing chemistry, or handling equipment rather than a single operator error.
How Cutting Practices Affect Edge Strength
The cutting room is where many edge failures become visible. Even a well-woven fabric can fail if it is cut incorrectly. The selvedge is the strongest part of the fabric edge. It is formed by the loom and designed to hold the weave together. When a cutter removes the selvedge, the fabric loses that support. The new cut edge is then exposed to the same forces that would have been held by the original border.
The distance from the selvedge to the cut line matters. If the cut is too close, the remaining edge has few threads to anchor the weft. If the cut is too far, the fabric waste increases. The balance depends on the fabric weight, weave structure, and intended use. A heavy denim or canvas may tolerate a closer cut than a lightweight poplin. A tightly woven technical fabric may need a wider margin to preserve the structural threads.
Blade condition also plays a role. A dull blade drags rather than shears. It pulls threads and creates a ragged edge. A sharp blade slices cleanly and leaves a tighter edge. However, even a sharp blade can cause fraying if the fabric is not held flat. If the cutter is not aligned or the fabric shifts during the cut, the edge can be nicked. That nick becomes a starting point for unraveling.
Finishing after cutting helps slow the damage. Overlocking stitches lock the edge threads in place. Heat sealing melts or fuses the edge threads, especially for synthetic blends. Edge tape or hemming tape adds a physical barrier. For natural fibers that are sensitive to heat, a light starch or sizing can be applied to stiffen the edge temporarily. The goal is to reduce movement. When the edge threads cannot move, the fraying process slows down.
Quality Control Checks for Edge Failure
Quality control for woven fabric fraying should happen at multiple points, not just at the final stage. The earlier the check, the cheaper the fix. A broken selvedge thread detected at the loom is a minor stop. The same thread detected after the fabric has been cut and sewn into a garment is a major rejection.
Start at the loom. Inspect the selvedge at regular intervals. Look for broken edge threads, loose weft, and uneven tension. A simple visual check with a light source can reveal gaps in the weave. If the fabric is large width, check the center and both edges. Uneven tension often shows as a slight wave or skew in the edge.
Move to the finishing line. After weaving, the fabric passes through sizing, washing, and drying. Each step can stress the edge. Check the rollers for burrs and nicks. Check the guides for sharp corners. Check the sizing application for even coverage. Uneven sizing can create weak spots at the edge. A patch of unsized fabric will fray faster than a well-sized section.
At the warehouse, inspect the rolls. A well-packed roll has even tension. If one side is compressed, the edge may be stressed. When the roll is unrolled for cutting, the compression releases and the edge can expand. That expansion pulls the threads apart. Check the roll for nicks, tears, or creases. A small nick on the outer layer can propagate into the core threads as the fabric is unwound.
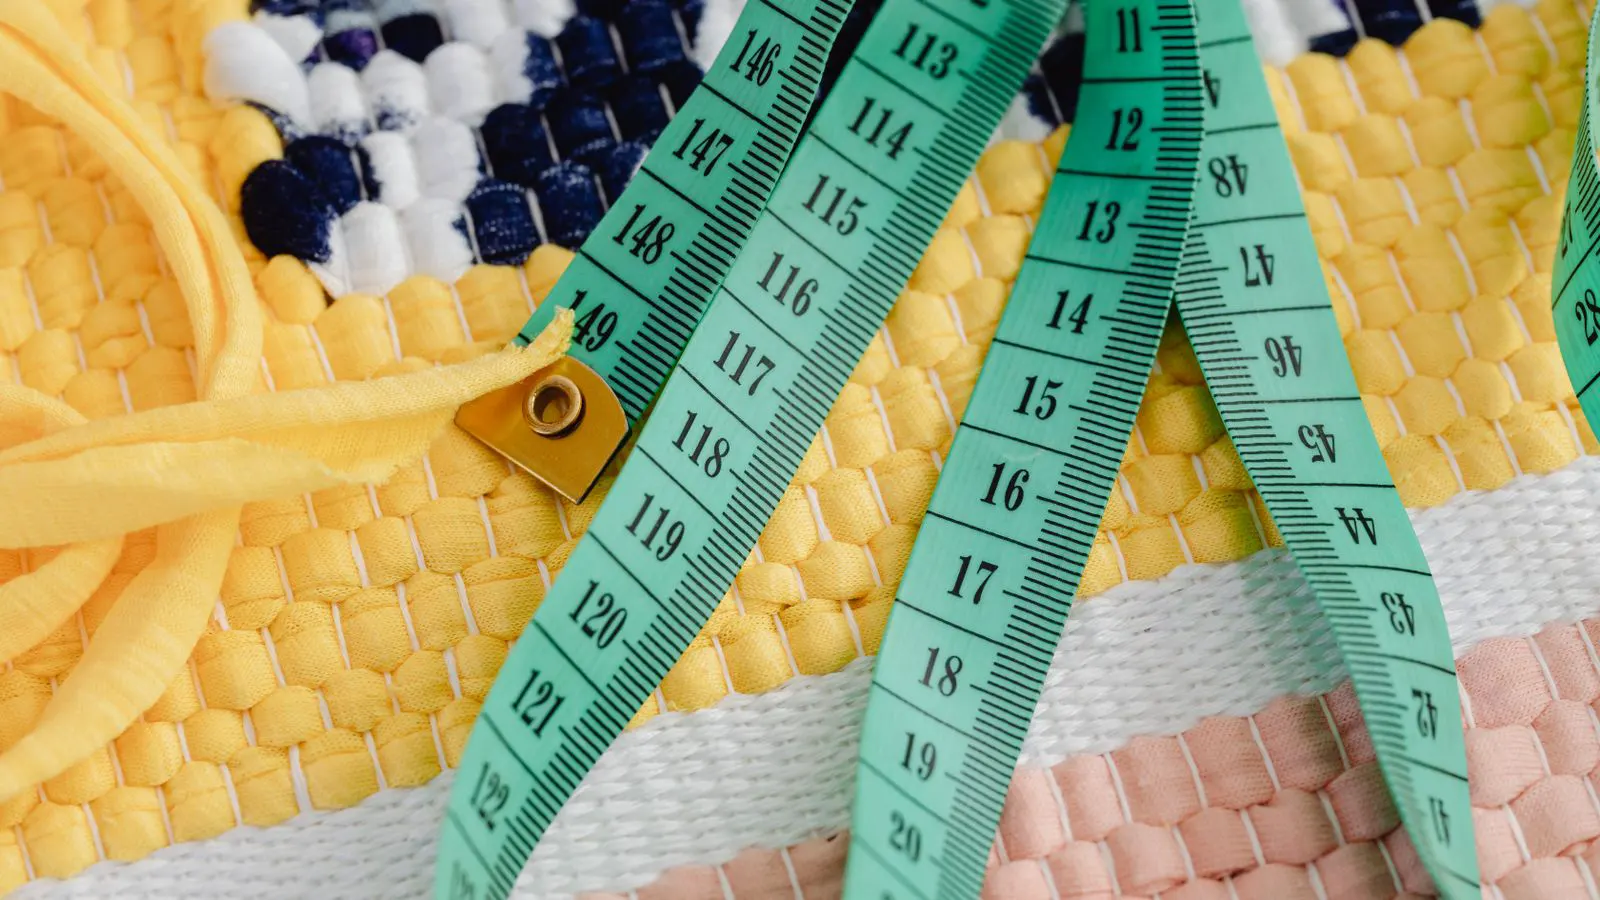
At the cutting floor, measure the distance from the selvedge. Use a ruler or a marked guide on the cutting table. Keep the same margin for every piece. Train cutters to inspect the edge before cutting. If they see fraying, they should stop and mark the bolt. Do not cut through a damaged section. The damage will spread.
Document every defect. Use a simple log or a digital form. Record the lot number, the location of the defect, and the action taken. Over time, this data reveals patterns. If fraying appears on every roll from a specific loom, the loom needs service. If it appears only in the afternoon shift, training or fatigue may be the issue. If it appears after a specific wash cycle, the chemistry or temperature needs review.
Prevention Tips for Stronger Edges
Prevention is cheaper than repair. The goal is to keep the edge threads locked in place from the loom to the final product. Several practices help achieve that.
- Maintain loom tension consistently. Small changes in warp and weft tension can create large problems at the edge. Set tension based on the fabric specification. Check it at the start of each shift. Adjust if the fabric weight or width changes.
- Protect the selvedge during handling. Use smooth rollers and guides. Avoid sharp corners. Wrap the edge of the roll in protective paper or film if the fabric is prone to snagging. Keep the workspace clean. Lint and debris can catch on edge threads and pull them out.
- Apply edge reinforcement at the cutting stage. Overlock, heat seal, or tape the edge before the fabric is used. Choose the method based on the fiber content. Synthetics respond well to heat. Natural fibers may need stitching or chemical sizing. Test the method on a sample before applying it to the full batch.
- Store fabric in controlled conditions. Humidity and temperature swings cause the fabric to expand and contract. The edge, being the most constrained part, is the first to crack. Store rolls on shelves, not on the floor. Avoid stacking heavy loads. Keep the warehouse at a stable temperature and relative humidity.
- Train operators on defect recognition. A fraying edge is not just a cosmetic issue. It is a structural warning. Train cutters, inspectors, and warehouse staff to spot the early signs. Teach them to stop and report. A five-minute stop at the loom prevents a whole lot from failing later.
When to Escalate the Problem
Some edge failure issues are easy to fix. A broken thread is a simple splice. A dull blade is a simple replacement. Other issues require a deeper look. If the same defect appears across multiple lots, multiple looms, or multiple batches, the problem is not local. It is systemic.
Escalate when the defect rate exceeds the acceptable limit for the order. If a client specifies a defect allowance, use that as the trigger. If there is no explicit allowance, set an internal threshold. Even a small increase in fraying can lead to higher rejection rates at the garment stage. The cost of fixing it at the fabric stage is far lower than the cost of rework or return.
Escalate also when the defect pattern changes. If fraying used to appear only on one edge and now appears on both, the loom alignment may have shifted. If it used to appear after cutting and now appears on the bolt, the loom or sizing process may have changed. A change in pattern is a signal that something upstream has shifted.
Do not ignore intermittent defects. A single bad bolt may be an operator error. Three bad bolts in a row is a process issue. Track the data. Talk to the loom operators, the finishing technicians, and the cutting floor staff. The answer is often in the details they can see that a final inspector cannot.
Common Mistakes to Avoid
Several mistakes make woven fabric fraying worse. The first is ignoring small defects. A few loose threads on the edge are easy to fix. If they are left, they grow. The second is cutting too close to the selvedge without testing. The fabric may look fine on the bolt, but the cut edge may fail under tension. The third is using the wrong finishing method. Heat on a natural fiber can scorch the edge. Stitching on a very light fabric can distort the weave. Match the finishing method to the fabric.
The fourth mistake is poor documentation. Without records, you cannot trace the cause. If a lot fails, you need to know where it was woven, what sizing was applied, and how it was stored. Keep the records. The fifth mistake is blaming the operator without checking the machine. A loose selvedge is often a loom issue, not a human error. Check the equipment first.
Final Checklist for Batch Acceptance
Before accepting a batch, run a quick checklist. Look at the edge of the bolt. Run your fingers along the selvedge. Feel for nicks or breaks. Cut a small sample from the edge. Pull on it gently. If the threads hold, the edge is strong. If they slip, the edge is weak.
Check the roll. Unwind a few meters. Look for tension changes. A roll that is tight on one side and loose on the other will fray unevenly. Check the storage conditions. If the warehouse is hot and dry, the fabric may be brittle. If it is humid, the fabric may be loose. Adjust the environment if needed.
Finally, review the defect log. If the same type of fraying appeared on a previous lot, apply the fix before cutting. If a new type appears, stop and investigate. The goal is to catch the problem before it becomes a cost. A strong edge is not just a quality feature. It is the foundation of a fabric that will survive cutting, sewing, and use.
Frequently asked questions
Can woven fabric fraying be fixed after it has already occurred?
Yes, for minor fraying, you can apply edge tape, overlock the edge, or apply a light sizing to slow the unraveling. For severe damage, the affected section should be cut away or the lot should be rejected.
Does fabric weight affect how easily it frays?
Yes. Heavier fabrics with thicker threads tend to hold their edges better. Lightweight fabrics with fine threads are more prone to fraying and require more careful cutting and finishing.
Is fraying always a loom problem?
No. While loom tension and selvedge strength are major factors, fraying can also be caused by cutting too close to the edge, poor storage, or aggressive finishing processes.
How do I know if my cutting room is contributing to fraying?
Check the distance from the selvedge to the cut line. Inspect the blades for dullness. Look for nicks or tears on the cut edge. If the fraying appears only after cutting, the cutting process is likely involved.
What is the best way to prevent fraying in natural fiber fabrics?
Use a gentle finishing method. Avoid high heat. Apply a light starch or sizing to stiffen the edge. Overlock or stitch the cut edge. Store the fabric in a stable humidity environment.