Textile Inspection Checklist for Bulk Fabric Arrivals
This guide provides a structured textile inspection process for bulk fabric arrivals. It covers documentation, visual checks, dimensional verification, and testing protocols to help buyers catch defects before production begins.
- Verify documentation and sample approvals before opening the bulk rolls.
- Check for visual defects, color consistency, and dimensional stability across the full width.
- Perform physical tests for shrinkage, shrink, and strength to confirm compliance.
- Record all findings with photo evidence to support claims and prevent disputes.
How to Verify Documentation Before Opening Rolls
Open the shipping containers only after confirming the paperwork matches the purchase order. Request the commercial invoice, packing list, and mill certificate of origin. Compare the lot numbers on the external labels against the internal tags on each roll. A mismatch here usually indicates a mix-up in the warehouse, which creates a major headache during cutting. If the labels on the cartons do not align with the digital records in your ERP system, halt the receiving process. You need a paper trail that proves where the fabric came from and who handled it. Without this chain of custody, you cannot prove the fabric is the correct grade or composition.
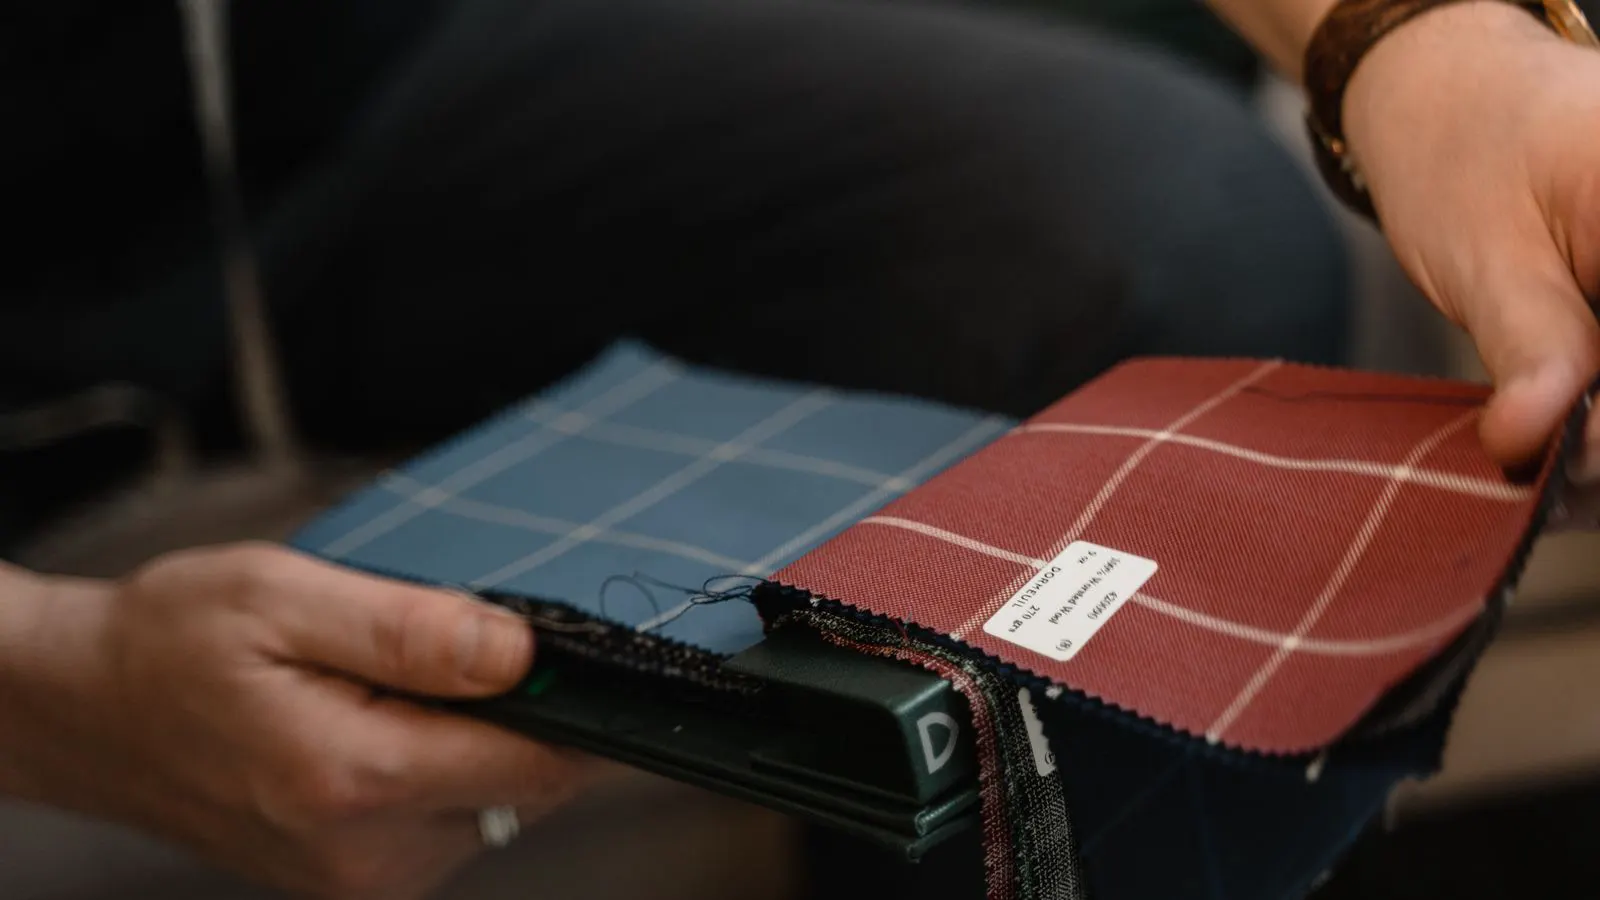
Check the date of the mill certificate. If the fabric was produced several months before shipment, ask for a stability report. Old stock can dry out in transit, changing the shrinkage behavior. Keep the approved lab dip and tech pack in a separate folder. Do not rely on memory or email threads. If the physical sample you approved differs from the bulk shipment, you need a documented reason. Look for a deviation note or a revised tech pack. If the mill changed the yarn lot or the dye recipe after you approved the sample, that change must be in writing. Verbal assurances from the sales team are not sufficient for a quality audit.
What Visual Checks to Perform on Each Roll
Unwind each roll a minimum of three meters and lay it flat on a clean, well-lit table. Inspect the face and the back. Look for slubs, holes, stains, and color variation. Use a light box if you have one. Backward light makes small holes and thin spots much easier to see than overhead lighting. Place the fabric over the light source and look for shadows or gaps. This method reveals weak points in the weave that will tear during washing or sewing.
Check the selvedge edges. They should be straight, even, and free from excessive fraying. A wavy selvedge indicates tension problems during weaving. If the fabric is printed, examine the print registration. Off-set or blurred patterns suggest the printing process drifted. Record the location of every defect using a simple grid method. Note the row and column from the top left corner. This prevents vague claims like “bad spot” from being rejected by the mill. Use a digital camera to capture the defect with a scale reference in the frame. Include the lot number and date in the photo metadata.
How to Measure Width, Length, and Thickness
Use a calibrated steel ruler or measuring tape. Measure the fabric width at the center, one meter from the selvedge, and at both selvedges. Take three measurements per roll and average them. Compare the average to the contracted width tolerance. A difference of more than one percent is a red flag. Measure the fabric under tension-free conditions. Pulling the fabric taut while measuring will give you a false reading. Let the fabric relax for at least ten seconds after unrolling it from the core.
Measure the length of three separate rolls. If the lengths vary by more than two percent, the metering system is inconsistent. This causes cutting errors and inventory confusion. For thickness, use a fabric thickness gauge. Press the plunger firmly but do not crush the pile. Compare the reading to the approved sample. If the bulk is significantly thicker or thinner, the weight per square meter will be off, affecting the final garment cost. Record the weight per square meter for each roll. If the weight varies by more than the specified tolerance, the yarn density or the weave structure has changed.
Which Physical Tests to Run on Sample Swatches
Cut small swatches from the center of at least three different rolls. Do not cut from the ends. The ends are often cut differently and do not represent the bulk. Send these swatches for shrinkage testing. Wash them in warm water, dry them on a flat surface, and measure the change in width and length. Use the same water temperature and detergent concentration for every test. This ensures the results are comparable across different fabric types.
Test for colorfastness to rubbing. Use a standard rub cloth and apply firm pressure. If the color transfers to the cloth, the dye is not secure. This will bleed in the customer’s washing machine. Test for pilling. Use a pilling tester or rub the fabric against a high-pile surface. If pills form quickly, the fiber blend or finish is weak. Check for seam slippage if the fabric is knit. Pull the seam edges. If the fabric distorts, it will stretch out of shape during sewing. These tests take time, but they save money later. A small test now prevents a large return later.
How to Check for Color Consistency Across Lots
Compare the bulk rolls to the approved lab dip. Do this in neutral light. Avoid bright sunlight or colored lighting. Lay the lab dip next to the fabric. Look for tint shifts. Even a small difference in blue or yellow undertone becomes obvious when printed on a large scale. Use a colorimeter if available to get a precise reading. This removes the subjectivity of human eye fatigue.
Check for lot-to-lot variation. If the shipment includes multiple lots, compare the first roll of each lot. If the colors do not match, you have a mixing issue. This is common when mills run multiple batches in the same week. Ask the supplier to confirm the lot numbers. If the lots are mixed, you will see banding in the final garment. This is a critical failure point. Banding is visible under direct light and is almost impossible to fix after the garment is sewn. You must reject the mixed lots or negotiate a price reduction.
Red Flags That Require Immediate Action
Stop the inspection process if you see the following.
- Mold or mildew: This indicates poor storage or water damage. Do not accept the goods.
- Excessive shrinkage: If the fabric shrinks more than the specified limit, it will not fit the pattern.
- Color bleeding: If the dye transfers to a white cloth, the fabric is not safe for consumer use.
- Dimensional drift: If the width changes across the roll, the weaving tension is unstable.
- Missing documentation: Without a valid mill certificate, you cannot verify the origin or composition.
How to Record Findings and Handle Claims
Create a digital inspection report. Include photos of every defect, the lot number, and the exact location on the roll. Use a standardized form. Write down the date, time, and inspector name. Attach the report to the shipping invoice. If you find defects, notify the supplier immediately. Send the photos and the report. Do not wait until the fabric is in production. The supplier needs time to respond. If the defects are minor and within tolerance, document them as accepted with a note. This protects you if the customer complains later. A clear paper trail is your best defense against disputes over quality.
| Check Item | Method | Acceptance Criteria | Red Flag |
|---|---|---|---|
| Width | Steel ruler, 3 points | Within +/- 1% of spec | Wavy selvedge, drift > 2% |
| Color | Visual, neutral light | Matches lab dip | Tint shift, lot mismatch |
| Shrinkage | Wash test, dry flat | Within spec limit | > 2% change in length |
| Thickness | Gauge, 3 points | Matches sample | > 10% deviation from sample |
| Defects | Light box, grid map | Within tolerance | Holes, stains, slubs |
A Simple Checklist for the Warehouse Team
- Confirm the PO number on the container.
- Check the number of rolls against the packing list.
- Inspect the outer packaging for damage.
- Unwind 3 meters of the first roll.
- Check the selvedge and the back of the fabric.
- Measure the width at three points.
- Cut a swatch for shrinkage testing.
- Compare the color to the approved sample.
- Take photos of any defects.
- Fill out the inspection report before putting the rolls away.
This process takes about 15 minutes per roll. It is faster than re-cutting a garment that does not fit. A small defect caught now is a small cost. The same defect caught after sewing is a total loss.
Final Thoughts on Consistent Quality
Consistency is the goal. The first roll in a shipment is often the best. The last roll is often the worst. Weaving machines drift. Dye baths change. If you only check the first roll, you miss the problem. Inspect the first, middle, and last rolls. This gives you a true picture of the bulk. If you find a pattern, stop. Do not guess. Ask for a re-check. A good supplier will work with you. A bad supplier will blame you. Your checklist is your protection. Use it every time. Do not skip steps because you are in a hurry. The hurry now will cost you later.
Frequently asked questions
How many rolls should I inspect in a bulk shipment?
Inspect the first, middle, and last rolls of each lot. If the shipment is small, check every roll. This catches lot-to-lot variation and machine drift.
Do I need to test every roll for shrinkage?
No. Test three swatches from the center of different rolls. If the results are consistent, you can assume the rest of the lot is stable. If they vary, test more.
What is the standard tolerance for fabric width?
Tolerances vary by fabric type and industry. Common tolerances are plus or minus one percent for wovens and plus or minus two percent for knits. Always check your specific contract.
Can I accept fabric with minor defects?
Yes, if the defects are within the agreed tolerance. Document them clearly. If the defects are minor and scattered, you can accept the fabric with a note. If they are clustered, reject the lot.
Who should perform the inspection?
A trained inspector with experience in textile quality control should perform the inspection. If your warehouse team is not trained, use a third-party inspection service. Do not rely on a general worker who has not seen fabric before.